How I Make Zines
My complete workflow for making photography zines at home. From shooting to printing to folding to posting.
Equipment & Materials
Cameras
I shoot with the gear from my kit page.
Printing Setup
- Epson ET-8550 - A3+ printer with ecotank system
- A4 120gsm plain paper - My standard for now, though I'm looking to experiment with different stocks soon
Assembly Tools
- Score Easy bone folder - For creasing pages before folding
- Dahle 534 guillotine - For trimming edges
- Rapesco long arm stapler (from Easons) - For saddle-stitching the spine
Software
- Affinity Publisher 2 on iPad mini - For layout and design
- Adobe PDF (free version) - For printing in booklet mode with automatic imposition
The Workflow
1. Layout & Design
I design the zine in Affinity Publisher on my iPad mini. Once the layout is finalized, I export it as individual PDF pages. Not spreads.
2. Imposition & Printing
I open the exported PDF in Adobe PDF (the free version works perfectly) and print in booklet mode. This handles the imposition automatically. Figures out which pages need to be on which sides of the paper so everything's in the right order when folded.
I always print fronts first, then give the ink ten minutes to dry, then flip the stack and print the backs. Rushing this step risks smudging.
3. Folding
Once everything's printed, I take each sheet individually and bone fold it down the centre. This pre-scores the paper and makes for crisp, clean folds in the finished zine.

4. Stapling
I nest all the folded pages together and saddle-stitch them with the long arm Rapesco stapler. Two staples along the spine holds it together nicely.
5. Trimming
With the Dahle 534 guillotine, I trim the long edge first, then the two short edges. This gives the zine clean, professional-looking edges.
6. Packaging & Posting
When I'm sending a zine out, it fits perfectly in a C5 envelope. If the weather's looking rough, I'll slide the zine into a ziplock bag (with the ziplock part guillotined off) for a bit of extra weather protection inside the envelope.
Depending on who I'm sending it to, I'll often hand-write a little personal note. Sometimes, though, pure mystery is more fun.
Things I Learned the Hard Way
Don't Skip the Drying Time
Ten minutes between printing fronts and backs isn't a suggestion. It's a requirement. I learned this with smudged ink all over my hands and ruined prints. The ink needs time to set properly.
Auto-Duplex Will Break Your Heart (and Jam Your Printer)
The ET-8550 has auto-duplex (automatic double-sided printing), but I don't use it for zines. Nearly every time I tried, I got paper jams. Sometimes multiple per zine, even with the printer's drying time set to maximum. Printing fronts, waiting, then manually feeding for backs is slower but infinitely more reliable.
WiFi Printing Consistency Issues
This printer struggled badly when printing over WiFi, even on my solid home network. After one or two copies, print quality would degrade or jobs would stall. Switching to a hardwired USB connection fixed every consistency issue I had. The printer didn't ship with a USB cable, so I had to order one separately. Annoying, but absolutely worth it for reliable multi-copy runs.
Guillotine Over Borderless Printing
I could have used the printer's borderless mode, but that puts extra wear on the printer's internals over time. Instead, I print with margins and guillotine to the final size. The Dahle 534 was an up-front cost, but I have zero regrets. I use it constantly now, and it saves the printer from unnecessary stress.
Why This Approach?
This setup lets me produce high-quality zines entirely at home, with full creative control from start to finish. No waiting on print shops, no minimum orders, no compromises. Just me, the work, and the tools to share it.
It's also a process I can iterate on. New paper stocks, different formats, experimental layouts. The workflow is simple enough to execute quickly but flexible enough to evolve as I learn.
See the Results
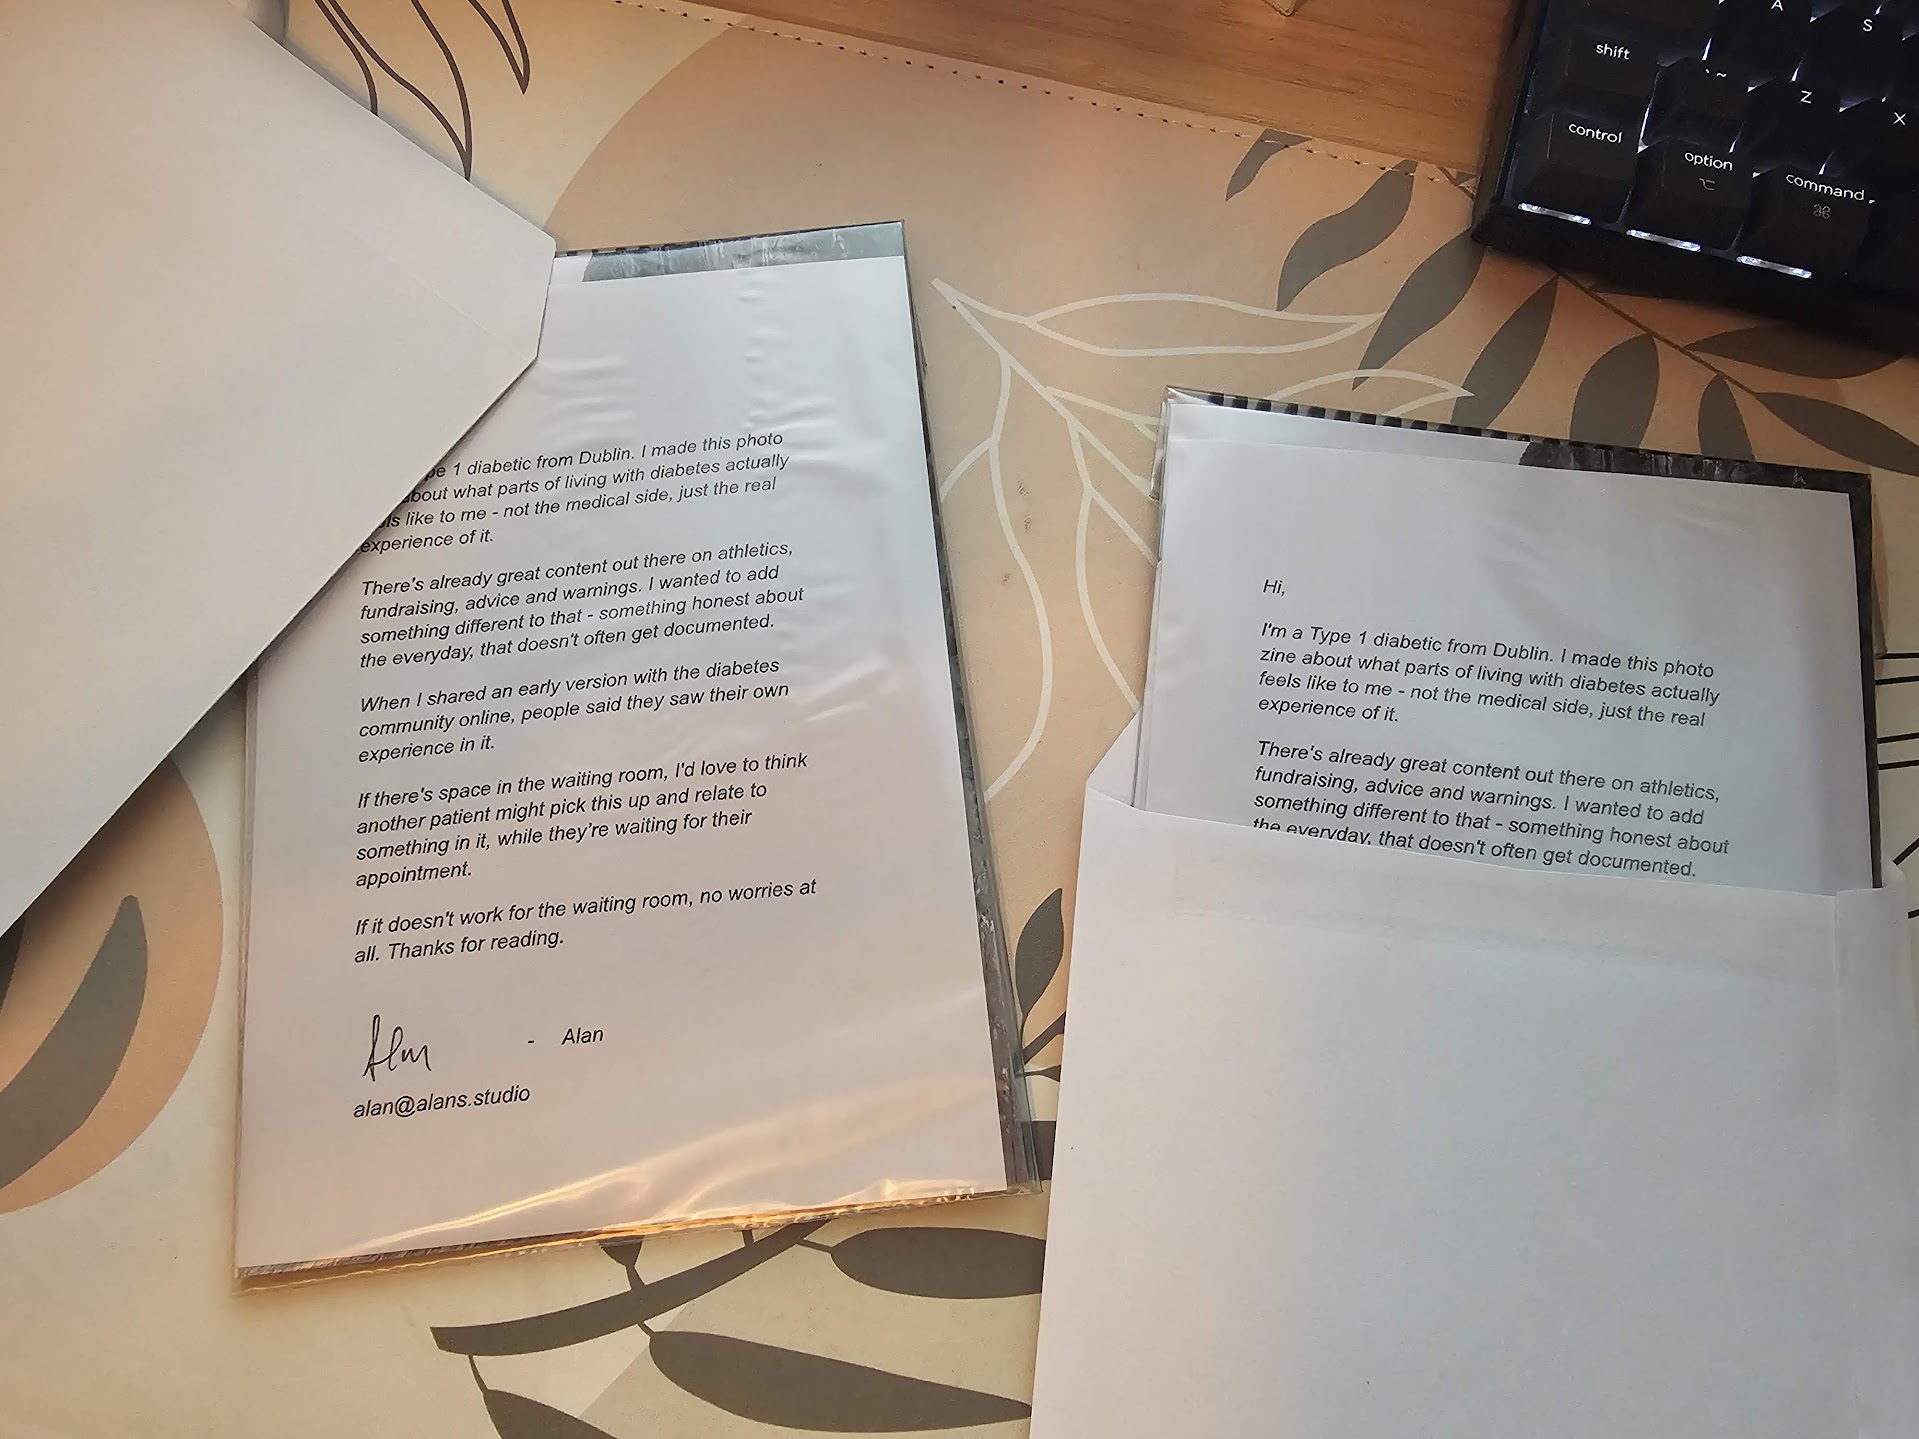
The zine shown in the photos above is Destroy by Incineration. A personal reflection on living with Type 1 diabetes, made using this exact process.
Read Destroy by Incineration